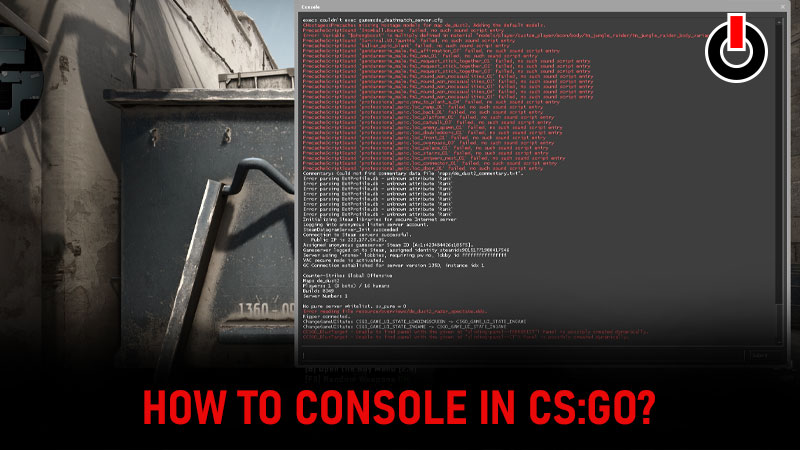
The console is one of the most important features in Counter-Strike: Global Offensive (CS: GO) as it helps you to alter settings, change keybinds or hotkeys, change crosshair, and implant different commands when you are in the game. Unlike all the other shooting games CS: GO has this unique feature to change the settings while you are in the match.
You might find remembering all console commands little tiring in the beginning but once you get your hands on it, there is no going back! Check this guide out to know how to open a console and use it in CS: GO.
Also Read | How To Bind Grenades In CS:GO?
Steps To Enable Console In CS: GO
To open Console in CS: GO, the first thing that every player needs to do is activate it or enable it from the settings. To do that follow the steps mentioned below.
1) Launch CS: Go on your device and head to Settings. Find the settings icon on the left side of your screen in a verticle side menu.

2) Now click on the Games from various options available in the horizontal sub-menu on your screen.
3) Scroll down and find the ‘Enable Developer Console‘ option in the list and activate it by clicking on YES from the options next to it.

4) This will enable the console in the game. Read further to know how to open a console when you are in the game.
How To Open Console In CS: GO During The Game?

Go back to the main menu and hit the play button to start a match in CS: GO. Once you are here you can press the tilde “~” button on your keyboard to open a console in CS: GO. Tilde is a default keybind set for the console in CS: GO. You can change the default key to open a console according to your convenience.
To change the keybind for Console, go back to the settings, and under Keyboard/mouse settings find a Toggle Console option. Assign any key that is convenient for you to use to change the keybind for a console successfully.
Here we come to the end of how to open a console in CS: GO. Read another article to know more about how to add or remove bots in CS: GO.

