

In this action-adventure title, you’ll be tasked with finding a missing father of the nameless guy. You’ll have to sail through different islands & dungeons, complete several missions, and beat the terrifying living fortress to do this. Though the game seems all fun & thrilling you are in for a challenging ride of a lifetime. As a result, to make your journey as smooth and memorable as possible here is a detailed walkthrough for all 11 parts of Oceanhorn: Monster Of Uncharted Seas.
Table of Contents
Oceanhorn Walkthrough – Part 1 To Part 13
Your crazy experiences in the game are inspired by The Legend of Zelda. The game revolves around relocating the hero around the map, fighting enemies, solving puzzles, and collecting treasures in hopes of finding the lost father. Before I get into the sections, I’ll start with some basic yet important hints, tips, and tricks.
Hints, Tips & Tricks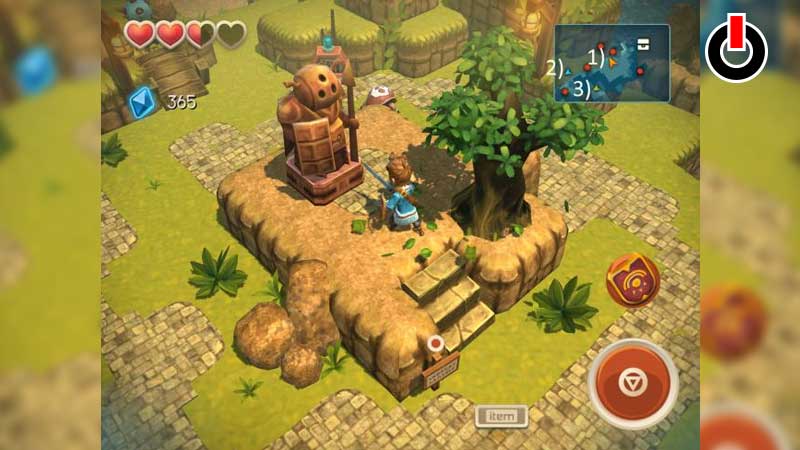
Kindly read the below pointers carefully to get a good idea of how the game works.
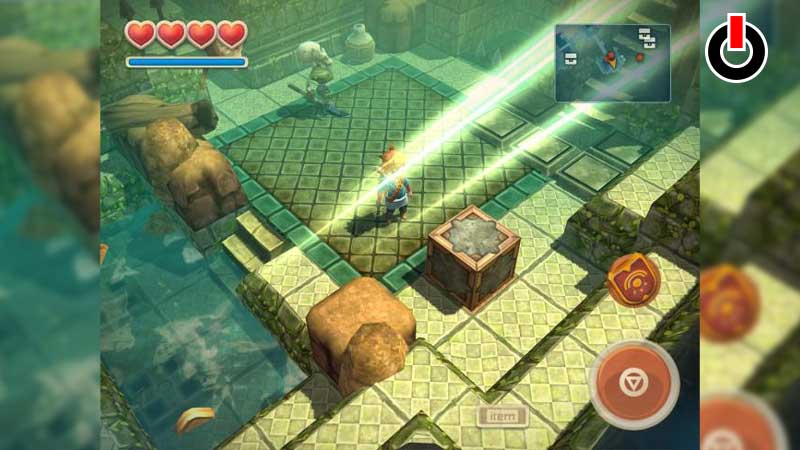
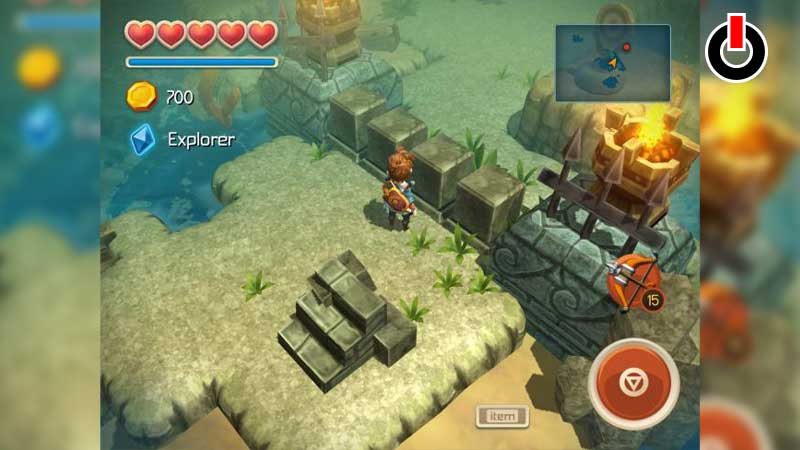
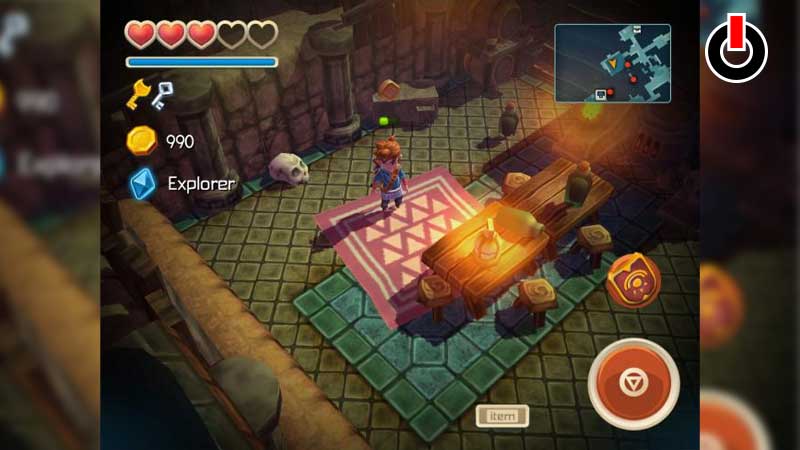
- Click the big red button on the screen to attack or interact with a nearby target. Aside from the sword, you can also equip secondary items such as a shield, bomb, and arrow.
- To use the secondary item click on the smaller bottom below the big red one.
- To change the secondary weapon click the grey icon.
- The Health Bar shows how much time you have left. Each enemy hit reduces it, and when all of the hearts are exhausted, the character dies and respawns at the last landmarks. Alternatively, you can refill the Health Bar by picking up heart containers.
- Magic Bar shows the amount of magic left to spell a cast. It can be refilled by collecting bottles of magic.
- There are two keys in the game namely regular and master. Regular is temporary once the door is opened you lost it. The master key is permanent & each island has its own master key.
- Accumulating coins & experience points increases in-game money & levels.
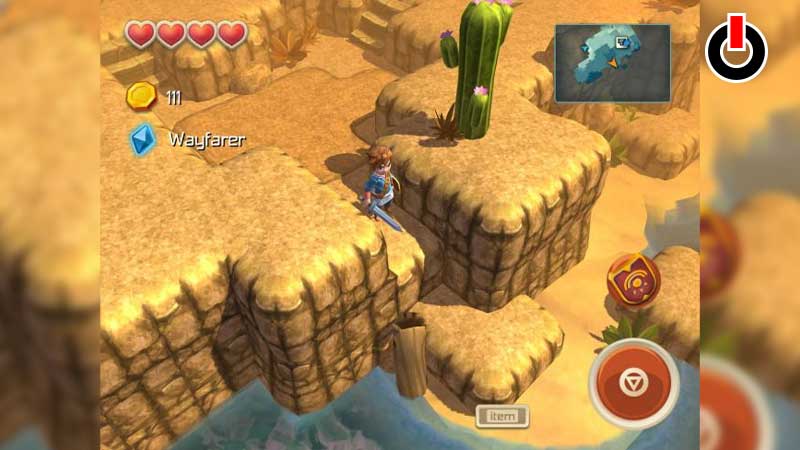
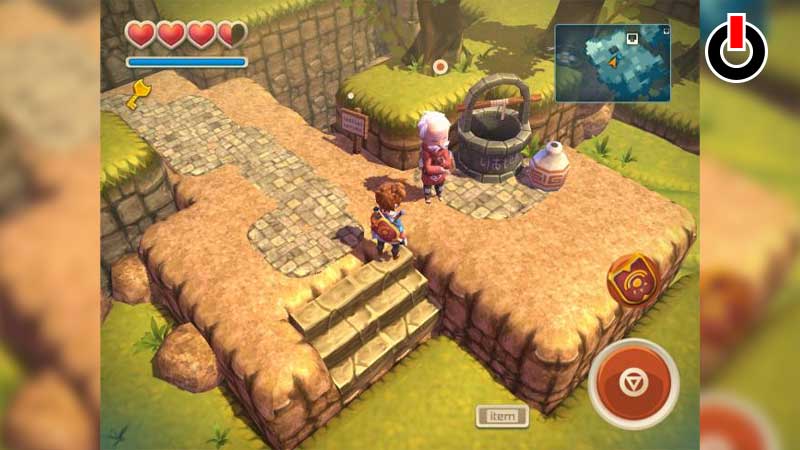
- The above image is a map that provides all the necessary details regarding the closer regions.
- The orange arrow indicates the location of your hero, the blue arrow indicates a door, entrance, staircase, or cave, and the blue arrow indicates the door or entrance you just passed.
- The red dot represents an opponent, the blue dot represents a harmless non-player figure, the white chest represents the sealed chest, and the transparent chest on top represents the chest you just unlocked.

- The key image suggests that a door is closed, while the orange bull’s eye reflects a chest or doors that can only be opened by a master key.
- Except for the cutscene, you can access the game’s menu all the time.
- The menu includes all the necessary details & settings of the game. Navigate & explore all the options. It’s pretty easy.
- Much like any other game in the RPG genre, leveling up & progressing through Oceanhorn is straightforward.
- Accomplishing any milestone in the game, whether it’s beating an opponent or finishing any quests, gives you blue experience points. These points are needed to progress in the game’s adventure level.
- Each adventure level means claiming amazing rewards like extra bombs, increased sailing speed, and more.
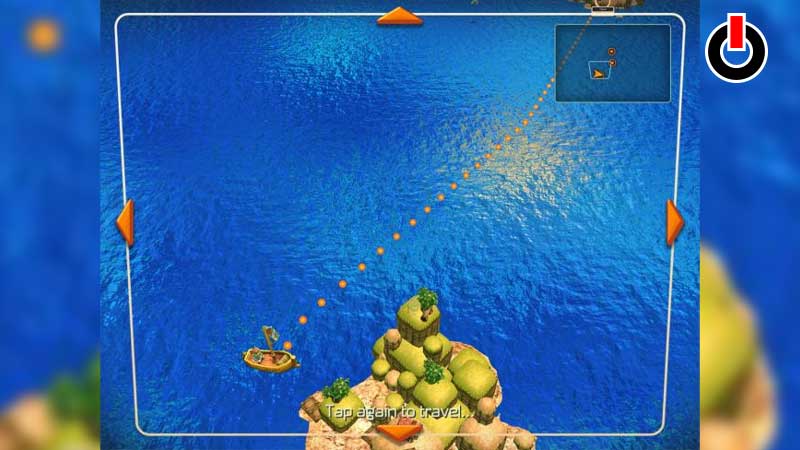
- Since the protagonist will be sailing across several islands, he will need a boat.
- The limited stamina available with your hero will be invested in numerous activities like swimming & blocking.
- The items & abilities will keep on unlocking as the hero performs in the game.
- Don’t skip any dialogues.
Note: Many elements are straightforward and simple to grasp. As a result, not everything is explained in detail. Furthermore, the game provides excellent guidance by giving directions, ensuring that you are not lost.
Also, Read | Summertime Saga Walkthrough
Finally, the Oceanhorn: Monsters Of Uncharted Seas walkthrough begins. Prepare yourself for a lengthy but beneficial read.
Oceanhorn Walkthrough – Hermit’s Island & Tikarel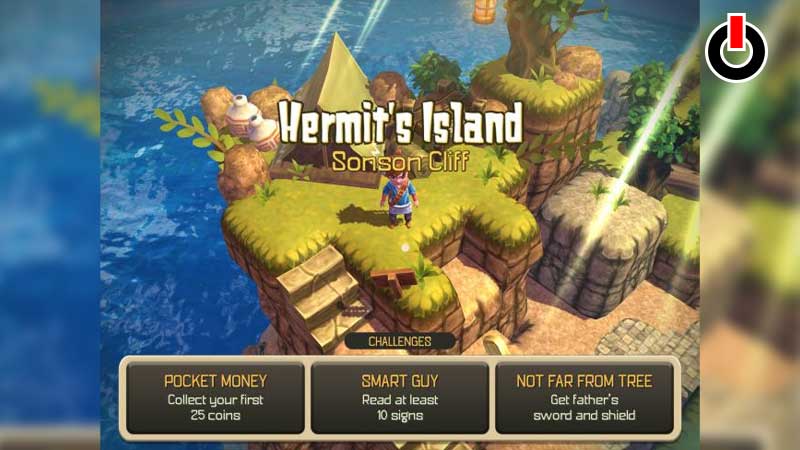
Follow the below instructions correctly to complete the first adventure of the game.
- Allow the game to lead you further. Your mission here is to locate your mother’s necklace, which has floated off into a cave.
- Move towards the sign that says “mini-map may reveal secrets” and swim through to get a chest carrying 5 coins. keep moving until you find the second chest as well as your mother’s necklace.
- Be mindful of the enemies along the path & when encountered kill them instantly.
- It’s time to unlock the boat with a master key given by the Hermit. Start with the Tikarel island and start your hunt for the Emblem Of The Earth.
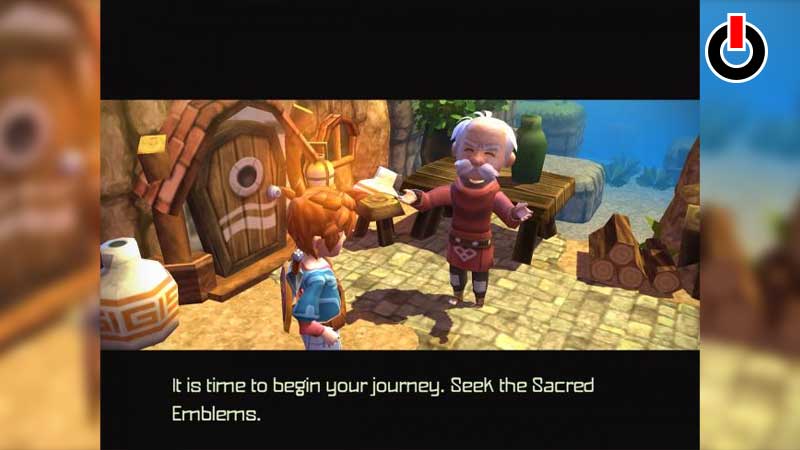
- Allow the game to lead you once more, and you will finally encounter a man in a Red Hearing Bar. Speak with him twice and he will reveal the location of the Emblem Of Earth. Withered Island is the next island in the chain. This is the location provided by the guy.
- Make sure to finish sufficient missions to achieve Wayfarer status in Tikarel & earn rewards.
Oceanhorn Walkthrough -Withered Lands and Bomb Island
The next section of the Ocean Walkthrough starts now.
- Follow along with the instructions in the game. Collect the treasure chest containing 50 coins in the cave mouth.
- Next, to know the location of Bomb Island, interact with the man near the blocked gate.
- Along the journey, you will come across a statue of Rusty push it. This is your key to the secret treasure which will earn you 10 coins.
- Keep moving towards the Northeast to reach the next destination which is Mines Entrance. There find a treasure chest with a silver key. You can get the Silver key only after killing the Goblin.
- Your next focus in the game is now to have the master key. For this get inside the room next to the dead Gobline & using the Silver key unlock an underwater route. Solve the puzzles and win a treasure chest with a Master key in it.
- Return to the master key door to hit the Abandoned mines – Depths & complete the Cepede challenge.
- Find the wooden crates & locate the chest. Return to the Withered island. Follow until you reach a shallow pool, there you will see a cave. Enter the cave, push the metal crate, reset & push it back towards the north. Follow the route to open the Prisoner cell. After that complete the Making Friends challenge.
- Keep moving till you spot three huge statues. Push them all and you will be in Rigger’s home.

- Start interacting with him to know the location of Great Forest Island the one where Emblem Of Earth is. You will also receive a spell cast object from him. Pause the time by casting a spell, and sail towards the next island.
Great Forest & The Emblem Of The Earth
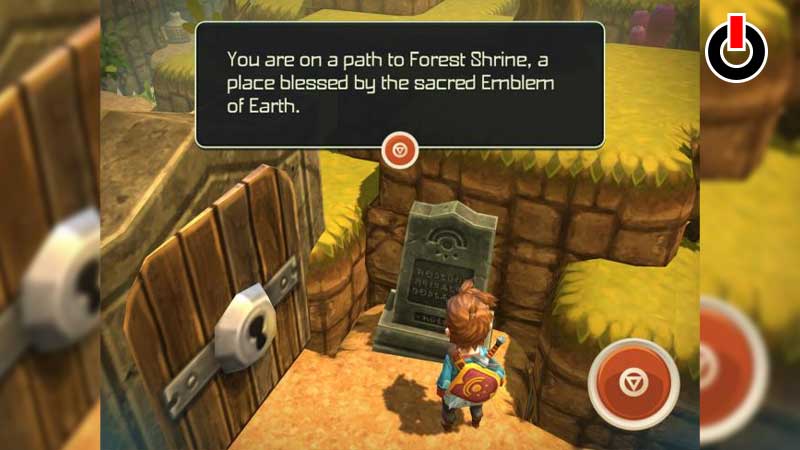
- Follow the route to Shrine/Sacred Grove.
- Push the metal crate to build a bridge & cross it till you reach the grassy region.
- Push another crate in between bridges, make a road & cross it.
- Move past the caves, cross the bridge & blow up wooden crates using a bomb.
- To collect the regular key, exit from the Grove & kill a skeleton.
- Defeat the Owrus guard in mini-boss battle.
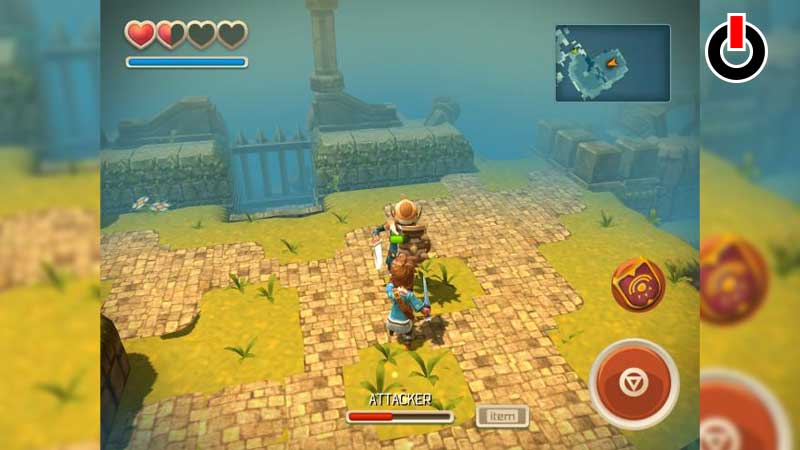
- Find your way to the Shrine and unlock the door. You will encounter enemies kill them using a sword but before it cast a spell to discard their masks.
- Swim your way to the chest with a regular key.
- Beat the Turmos’ Arm in mini-boss battles.
- Open the chest using a Master key to claim bows & arrows.
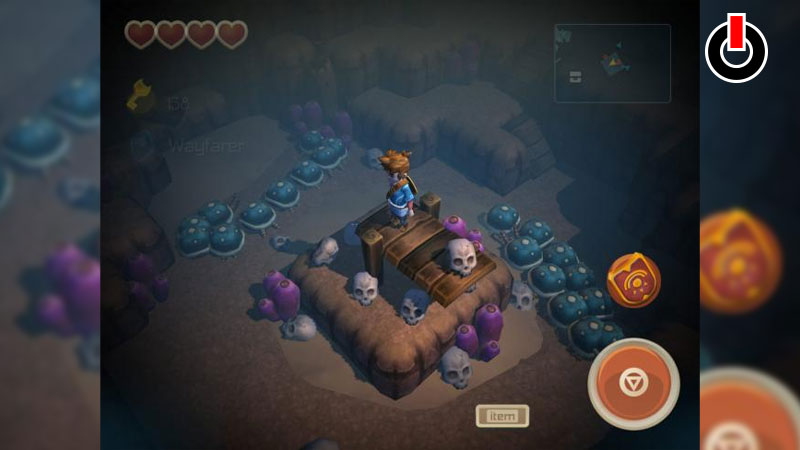
- Progress further in the game, cut through the purple plants using a sword. A button will be revealed, step on it.
- Climb the stairs, use a bomb to make a hole. Drop in it & you will reach the central hall where you will encounter Turmos.
- Defeat him in the boss battle & finally when he is dead you will get the Emblem of Earth.
- Now return to the map & move towards the next island.
Return To Hermit’s Island & Tikarel
- On Hermit’s Island, look for the shack in the center to find a note. In a letter, you are instructed to jump down the well to fetch a package left behind by his buddy Teppo the Archeologist.
- Make your way to the 4-way intersection point and you’ll find a locked door. Move towards the north to find a chest with a regular key.
- Use that key to unlock the door near the intersection and move past the 2nd intersection to retrieve a chest containing 5 bombs.
- For bonus again move to the north carrying a Cepede and you will be awarded a treasure chest. The chest offers a piece of heart.
- Keep progressing the game until you encounter a statue. Push it to unlock the door & you will be in the Room of Answers.
- You will come across another status that breathes fire. Wait for the flames to slow down, walk the hallways & you’ll score another treasure chest near a half wall. Using a bomb break the wall. You will find a chest with a regular key.
- With this key unlock a treasure chest to get the Lost Stone Cube of Archimedes. Use this and you’ll be quickly out of the well.
- Head back to the Tikarel only to find a girl waiting for you near the entrance. She will inform you about the Festival of Sun which is soon t begin & give you a regular key.
- With the key unlock the door, move inside the cave to collect a Toy soldier worth 20 coins.
- Exit the area and climb the hill to start the mini-boss battle. When you return to the boat after beating him, the Town Sheriff challenge is automatically achieved.
- To know the location of Gillfolk’s Drop & Southwind Isle interact with Neeti. Let the game guide you and in between, you will get lucky with several amazing items.
- In Crayfish Cave, blow-up crate puzzles & a chest containing 150 coins will be revealed.
- You’ll find a bottle with a note revealing the location of Reef. Make your way towards it, enter the abandoned house to get two treasure chests one with extra bombs and one with 50 coins.
- Exit & negotiate with the collector to receive a special gift at the cost of Bloodstones.
- Shoot the bull’s-eye with your bow and arrow, and a treasure chest opens to the northeast. However, you can’t unlock it yet so leave Tikarel and move to the next island in the Oceanhorn walkthrough, Gillfolk’s Drop.
Gillfolk’s Drop and Honey from Southwind Isle
- Sail through & enter the Gillfolk’s Drop. There you will find a bottle with a note revealing the Skerry’s location.
- To the north of the docks, you will get lucky with a treasure chest containing five coins.
- Exit the Gillfolk’s Drop and on your way visit Skerry. There you will collect the Bloodstone and 25 EXP from a treasure chest.
- Now make a trip to the Southwind Isle and collect more Bloodstone on the way.
- Let the game guide you and eventually, you will see a cave inside which there’s a man waiting for you.
- He is none other than your Honey supplier. He will reward you with ample honey for completing the Faith Of Honey Man mission.
- Return to Gillfork’s drop and hand the honey to the Gillman who is waiting for you near the Deep Cove. With this, he will give you a key to enter Deep Cove and a new challenge “Fruitti Di Terra” will be unlocked.
- Swim your way to Gillman’s royal palace, Emblem of Ocean awaits you there.
- Since the palace & princess are frozen only an item near Cavern of Fire will help you defreeze them. Hence, get one from the Olf Fortress. This takes you to part 6 Old Fortress Island and the Cavern of Fire.
Old Fortress Island and the Cavern of Fire
- Go to the Western Watchover to get a chest with a regular key. Continue your journey with a key.
- While wandering further you will reach a split path. When you exit the split path you will locate a chest and rewarded with 150 coins.
- Go to the Direfolk’s hideouts in prison cells. Again you will encounter a chest with 20 coins.
- It’s time to get the master key. You will find it in a kitchen-themed area.
- Once you get the master key visit the next prisons and find a master key chest. Open the chest and you will earn a magic Ice Spell.
- When you return you will find two more chests one with 5 coins & another with 100 coins.
- Return to the Dove Cave only to make a trip to Cavern of Fire. Just when you enter you will get a heart refill.
- Use the magic ice Spell and break the mask of a fire-breathing enemy and finally kill him.
- While attempting to get another treasure chest containing a regular key you will find 2 chests with arrows. Collect them.
- Using the key open the locked door and there you will find a treasure chest offering fire spell.
- Well, this is the item from Cavern of Fire needed to defreeze the Royal palace & princess.
- Exit the Cavern of Fire and move on to part 7.
That concludes Part 1 – 6 of Ocean Walkthrough. Bookmark the guide and come back tomorrow for the rest of the stuff.